

That chocolate and coconut go together wondrously is no secret. All you gotta do is gnaw at (or chomp down, if you are like me) a Bounty bar or have at a lamington (squares of chocolate-coated sponge cake rolled in dessicated/flaked sweetened coconut) to realise that chocolate and coconut, when combined, is just divine.
So, on a particularly restless evening some weeks ago, I decided to try and determine if the choc-onut pairing would work also work in a favourite Malaysian dessert: coconut candy. Now I was aware that I was treading into dangerous waters because a true fan of the classic Malayisan (yes, I am claiming it to be Malaysian) coconut candy doesn't tolerate the bastardisation of the classic recipe.
As a rule, coconut candy must be either pink or green: the more garish the colours the better (see below). Also, the flavour should be pure coconut enhanced only with vanilla or rose essence.

So, seriously, I was a little nervous about messing with a classic. But curiosity always gets the better of me and so I pressed on.
I didn't have a recipe to go by and so, it took some experimenting to find the right amount of cocoa for the candy to be just right.
The first batch I made was weak. I was too stingy with the cocoa and as a result the chocolate flavour wasn't apparent at all and the colour was unappealing too; kinda sandy brown. Unacceptable!
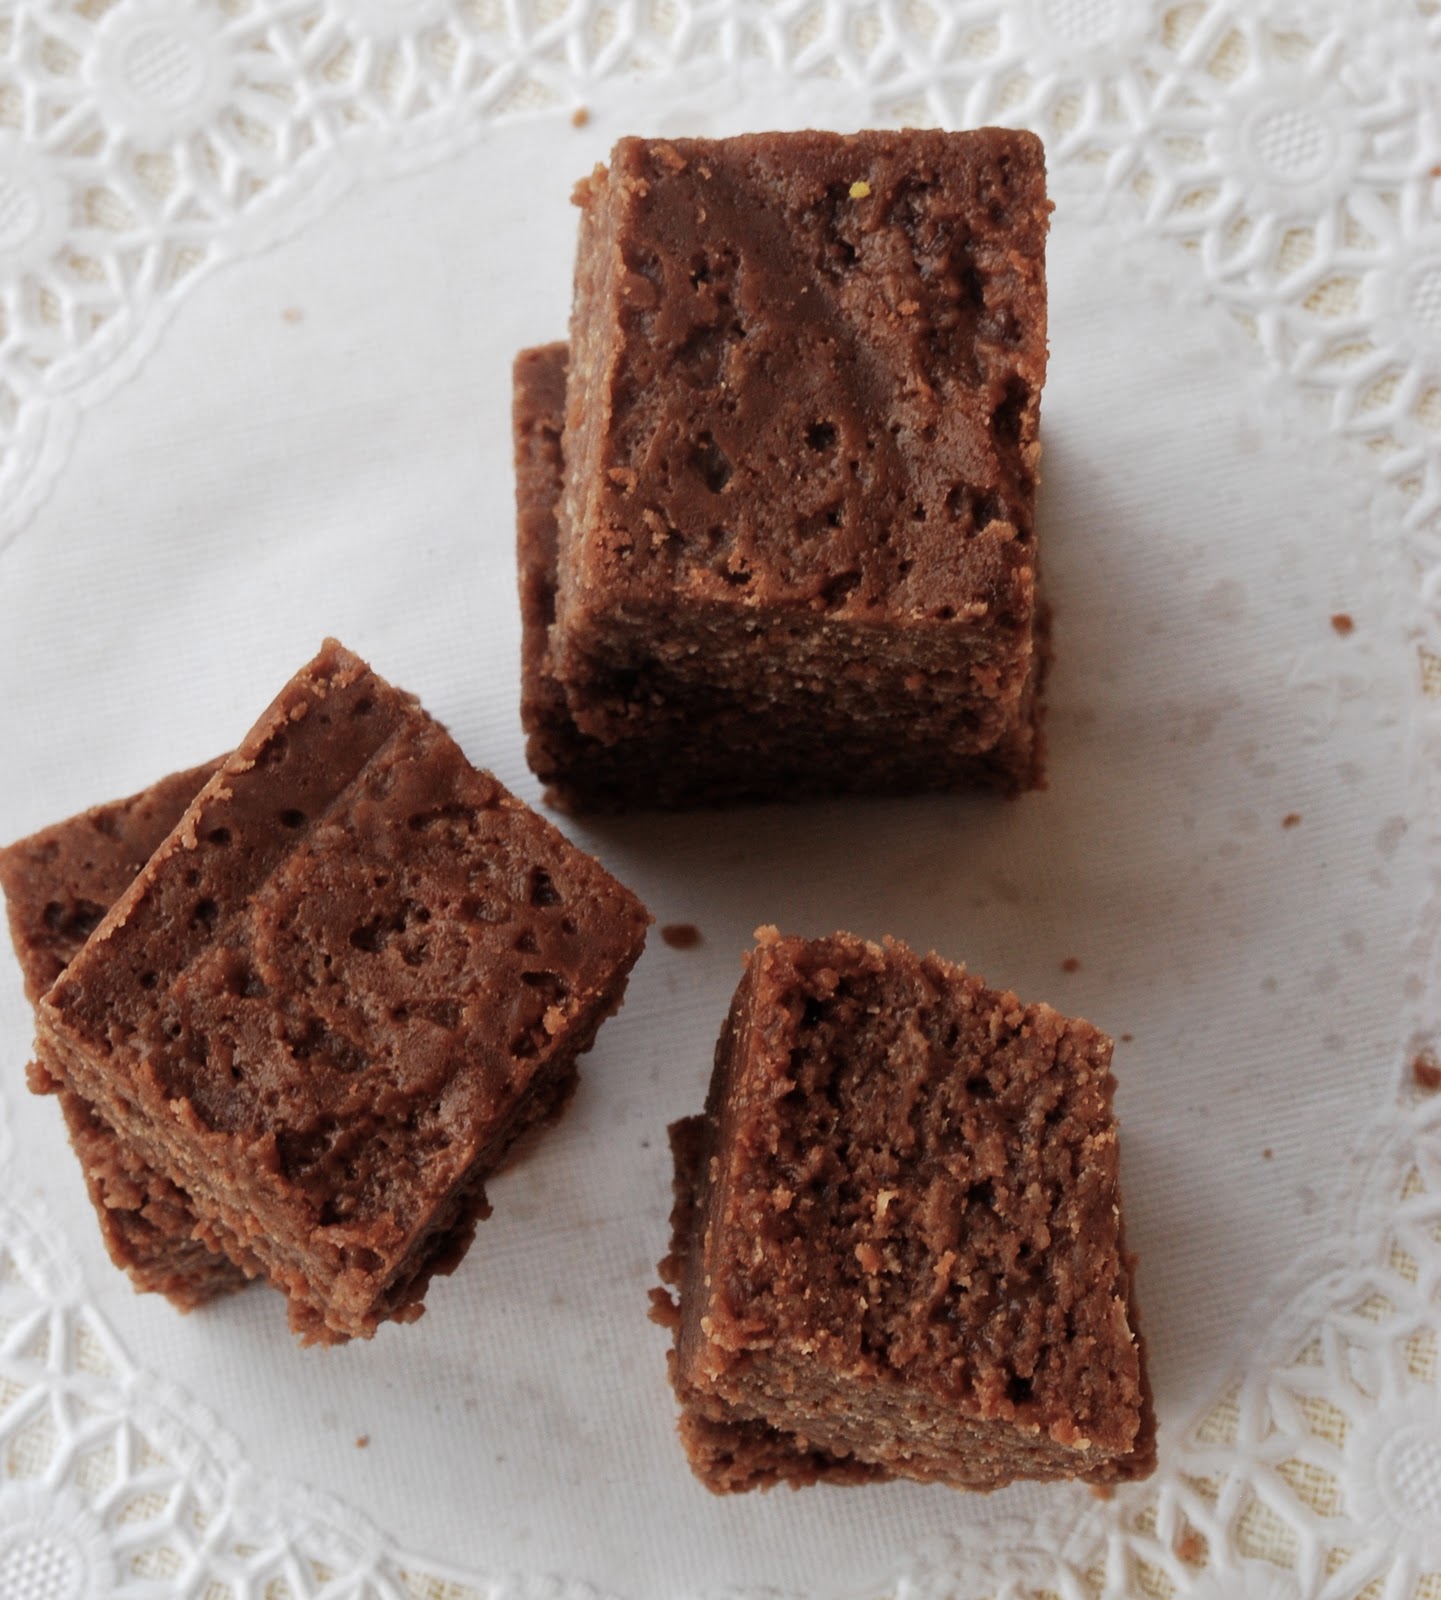
I decided to be bold with the second batch and doubled the amount of cocoa I used. It worked. The taste of chocolate was very apparent and the candy looked like a brownie. Well, kinda.
The verdict? I loved the choc-onut candy as did many of my friends whom I made sample it. Would I try it again? Yeah! Would they try it again? Well, yes but only if I also serve them the original.
"It's lovely but I will always feel a little unfulfilled unless I have a garishly pink or green piece along with this one," was the consensus.
Choc-onut candy
3 cups grated coconut
450g castor sugar
170g evaporated milk
40g butter
1/4 cup cocoa
pinch of salt
1 tsp vanilla extract
Grease a small baking tray with butter.
Place the coconut, sugar, salt and milk in a wok over low heat and stir until the sugar dissolves. Add the butter and then the cocoa. Stir to incorporate both ingredients and then keep stirring as the mixture thickens so that the bottom doesn't get burnt.
The tricky [art about candy is knowing when to take it off the heat. Take it off too early and your candy will be damp and maybe even a little soggy. Leave it on too long and the candy crumbles. The secret is to watch closely and remove it once the candy starts to stick together and when you stir it with a wooden spoon, it comes together in a ball. Well, sort off. It will be a little wettish still but don't fret, it will harden as it sets.
When the texture is right, remove the candy from the heat onto the greased tray. Using a sheet of foil, press it into a flat layer about 1 inch thick. Compress it well and level the top with a bowl or the palm of your hand.
Leave it to set for an hour or longer. If you want, you may serrate the block of candy by gently running a knife through the wettish layer (so it will be easier to break up or cut up later) but this isn't necessary.
Will you please stop inspiring me to make all these fattening goodies? I have to lose 1kg before arriving in KL end-January. :D
ReplyDeleteMake, eat and then take Umbria for an extended run :)
ReplyDelete